Time to go back to the Seven Years War. It's been a while since our last foray into this period, so it was time to revisit it. Todd, Andrew, Paul and I gathered in my basement earlier this month to pit Todd's and Paul's forces against one another. Todd and Paul would ally Todd's Reicharmee with Paul's Austrians while Andrew and I would run Todd's Hannoverians.

Andrew and I split the Hannoverian army between us. He took the experienced brigades on the left. I took the militia, but backed them with the grenadier brigade. I was also assigned the entire cavalry contingent, two brigades. Paul's Austrians were deployed to our left with their excellent cavalry unopposed on our left. The Reicharmee was in support in the center, with a single brigade of infantry and their cavalry brigade on our right across from my cavalry. The scenario had four objectives. The road intersections were worth a point a piece, the camp on the Austrian right was worth 2 points and the lone bare tree near the table center was worth 3 points.
Following deployment Andrew began to immediately redeploy a reserve brigade to his left to make sure Paul's cavalry couldn't turn our flank unopposed. He anchored a line on the impassable (to cavalry) field on the left.
In the center, the battlelines closed around the central objective. The two point objective was under firm Austrian control, and we split the road intersections. The central three point objective would be the decider. Control here was crucial.
Further to the left, a unit of Austrian Jagers moves into no man's land and takes cover behind a low wall.
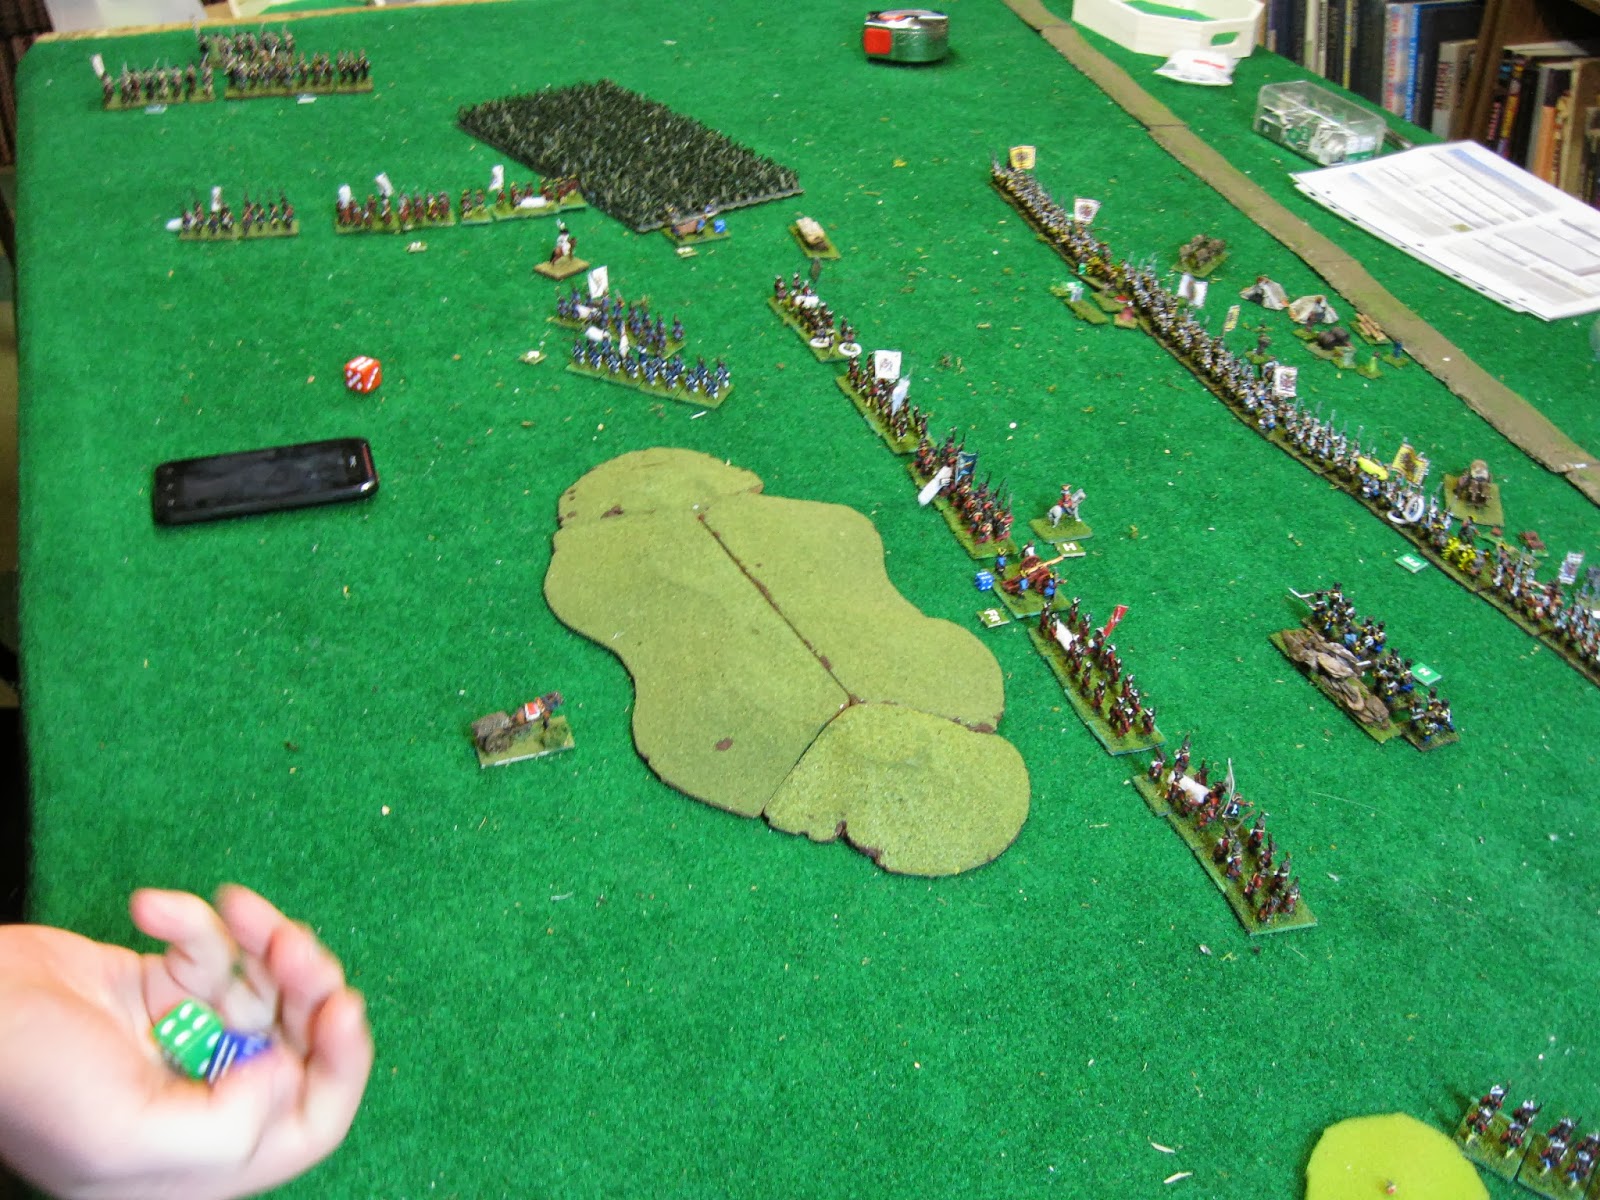
On the far left, Andrew's brigade gets into position just in time for the Austrian cav to form up for a charge.
Meanwhile back on the right, I launch a series of charges on the outnumbered Reicharmee cavalry. Some good supporting fire from their horse battery, and some decent dice rolling, sees my charge a shambles. I managed to rout off a unit of infantry, but Todd rolled boxcars at the table edge to not only rally them, but reform and deliver a volley at two inches to my standing cavalry that pursued as far as they could. The lines were pushed back on the right, but the half of my cavalry that was spent was in rough shape and facing countercharges from units that I had hoped to eliminate. As usual the Reicharmee was doing better than it should.
Closer to the center I positioned my lead infantry brigade to try and turn the left of the Austrian brigade holding the center. My jager battalions closed to normal rifle range and began inflicting telling casualties to the Reicharmee grenadiers. My reserve brigade begins to move into position in case the cavalry battle gets worse for me.
Out on the far left, Paul attempts a frontal charge against Andrew's infantry lines, and learns a valuable lesson in the differences between Napoleonic battles and Seven Years War battles. The infantry stands and delivers a point blank volley emptying many saddles. Unfortunately for us, the followup volley doesn't land as the brigade is mistakenly marked hold fire instead of first fire, letting the horsemen pull back and learn from their lesson.
Panning back to the left, the Hannoverian Grenadiers have plunged into the ongoing battle in the center. The unit, plus a supporting regiment of militia, are spent in the process, but they put a hurt on some Austrians, and a unit of the Reicharmee, and are a thorn that must be dealt with. It proves a successful spoiling attack.
While my grenadiers were penetrating the Austrian line, the Austrian grenadiers were doing the same to us, making a run on the objective, and routing a Hannoverian line unit into the little green swamp. Andrew managed to turn one regiment long enough to hold them while I repositioned some reserve units to push them back.


We ended there due to time. It was a close fought and interesting game that ended in a Hannoverian victory. Crucially it was also one of the few games of Final Argument of Kings we've played without Michael our resident rules guru and contact with the author. It was a learning experience. We had a lot of sorting out to do in our heads getting rid (temporarily) of all the Johnny Reb still floating around from Gettysburg. Since the rules are nearly identical that's not easy to do. It also didn't help that we had three different versions of the reference sheets at the table. We now finally have everyone on the same page even if Michael isn't around. But...Dean can't finish the new rules fast enough. :) I can vouch for at least a couple of copies that will be immediate buys. We love these rules for SYW.


Great pictures and narration. A real donnybrook for sure.
ReplyDelete